How to use OpenELEC MediaCenter to make your own Home Theatre for free!

Instead of buying a dedicated home theater system at a high price not everyone’s budget can afford, you can build your media center system manually via OpenELEC Mediacenter system software based on Kodi interface, which let you control file management of on multiple devices from a single location/pc.
Let’s check the few steps that can let you install and configure the system on your pc with support for linux, windows, mac pc’s.
Choosing a device
Beside the mentioned systems, OpenELEC Mediacenter also support Raspberry Pi 2-3 devices but you need to check the dedicated tutorial on their device.
Choose your device and follow the next steps to set everything to go on usb flash drive, and for data transfer, there are many ways to load files through internal-external hard drive or via (Samba network “wi-fi” connection.
Creating installation disk

OpenELEC system requires Flash Memory at least 1GB in size and must be configured and adjust their settings through another easy tool but first, download the program file format raw IMG from here.
For Linux/macOS
After downloading the IMG file, extract data from archived file, then copy the next command in terminal to burn the files to your flash drive.
cd ~/Downloads
gunzip -d OpenELEC*.img.gz
For Windows
Download Etcher USB creation tool and follow the instruction found on their website to install the img files to the usb drive.
Note: Raspberry Pi users, can use Etcher burning the system to SD cards as well.
Installing OpenELEC mediacenter

Now comes the easy installation steps, put your flash drive in your pc’s usb port then, boot from device by pressing F2 or DEL after restart your pc, some motherboards have another shortcuts like F11-F9 so, you can check the manual or try it by yourself.
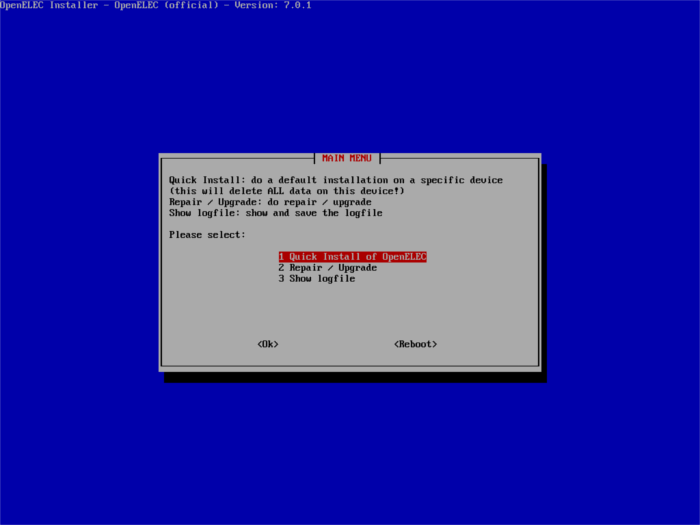

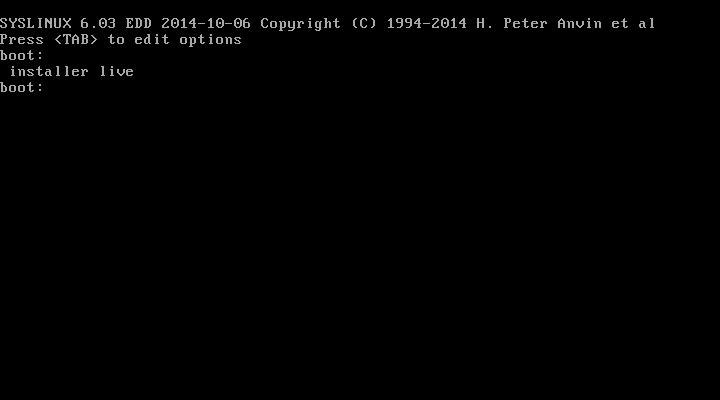
After booting to OpenELEC system, a new Syslinux screen will show up, write installer in the prompt and hit enter then, choose quick installation option and press enter to start installing the system.
Once installing done, reboot the system and load OpenELEC system.
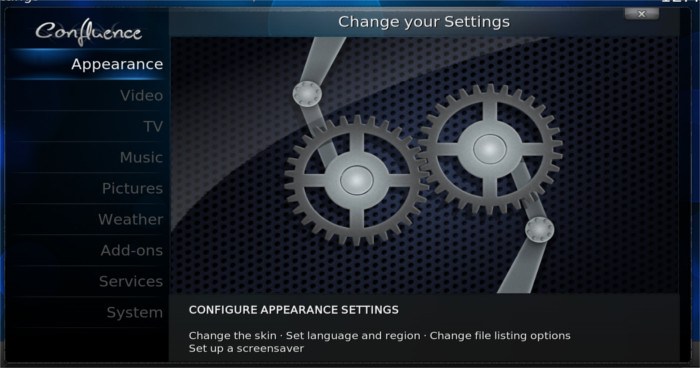
Configuring OpenELEC
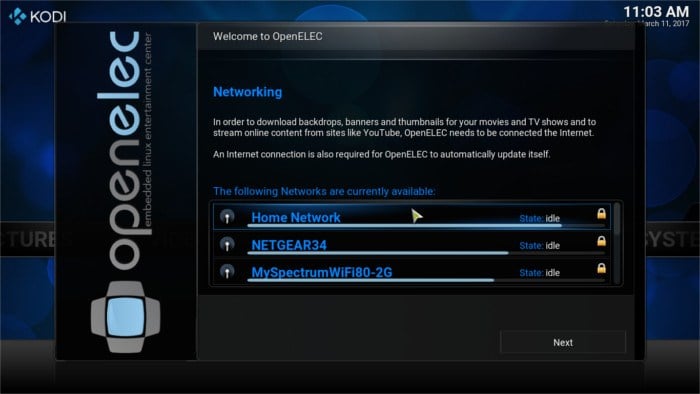

First thing you need to configure is wifi network and how to connect the media center device to other devices through a small network, select your internet access and click next.
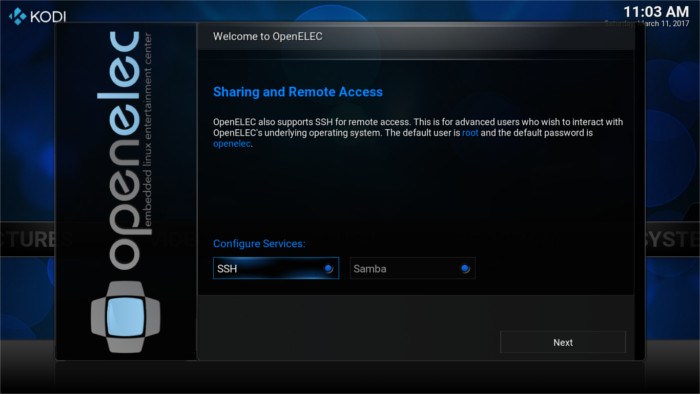
“Welcome to OpenELEC” is the next screen you will find where you must configure sharing settings, choose “SSH and Samba” to make it easy to remotely transfer media files between devices.
Adding Media to OpenELEC

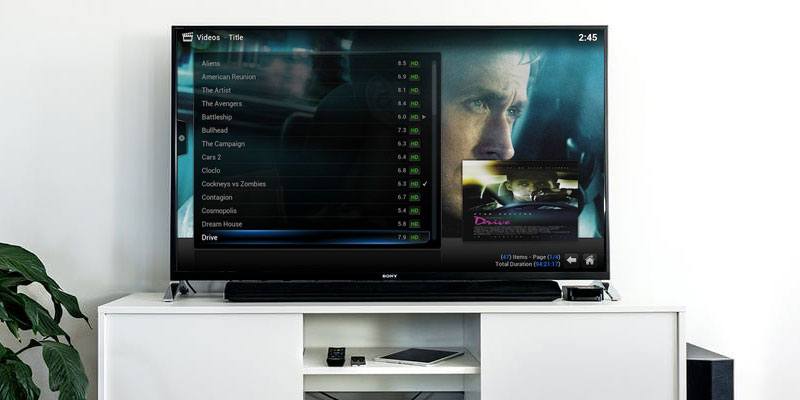
OpenElec (Kodi) interface makes it easy to transfer music, photos, videos files and we will try to add some videos from many sources which know as “mount points” inside the system.
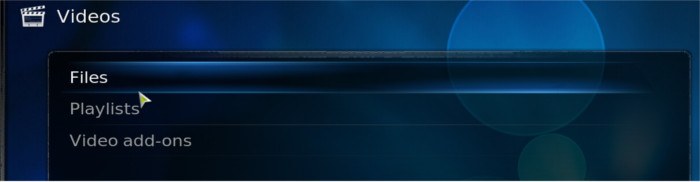
Choose video files from the system section and then press the Files and then click Add Files and you’ll can copy files from hard drives or shared network files.
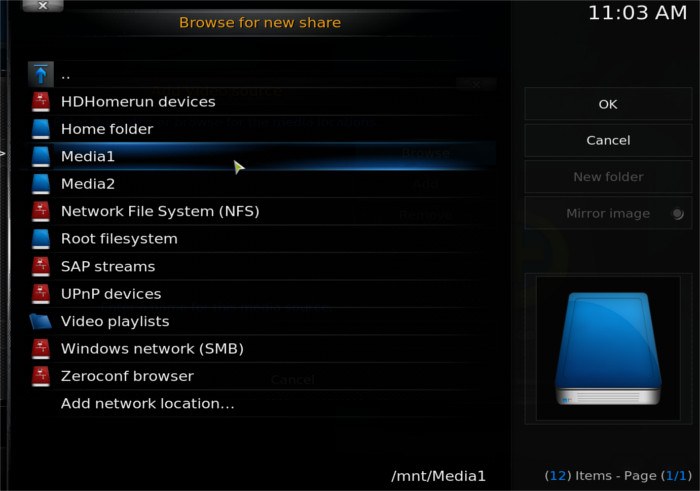

You can transfer files from DVD or flash memory or external storage drive cards,etc.. and you can browse/play files from added files sections or click on the main buttons “Pictures, Videos, Music, Programs”.
You can download add-on extras to edit photos or video files by clicking “add-ons button” and browse the right section for your needs.